3D Print Warping: Causes & Fixes That Actually Work
Warping is thermal shrinkage beating bed adhesion. The fix by cause: clean PEI + 60°C bed for PLA (80% of cases), smooth PEI + 80°C for PETG, a heated chamber for ABS — plus the diagnostic patterns, exact temps, and CAD tricks.
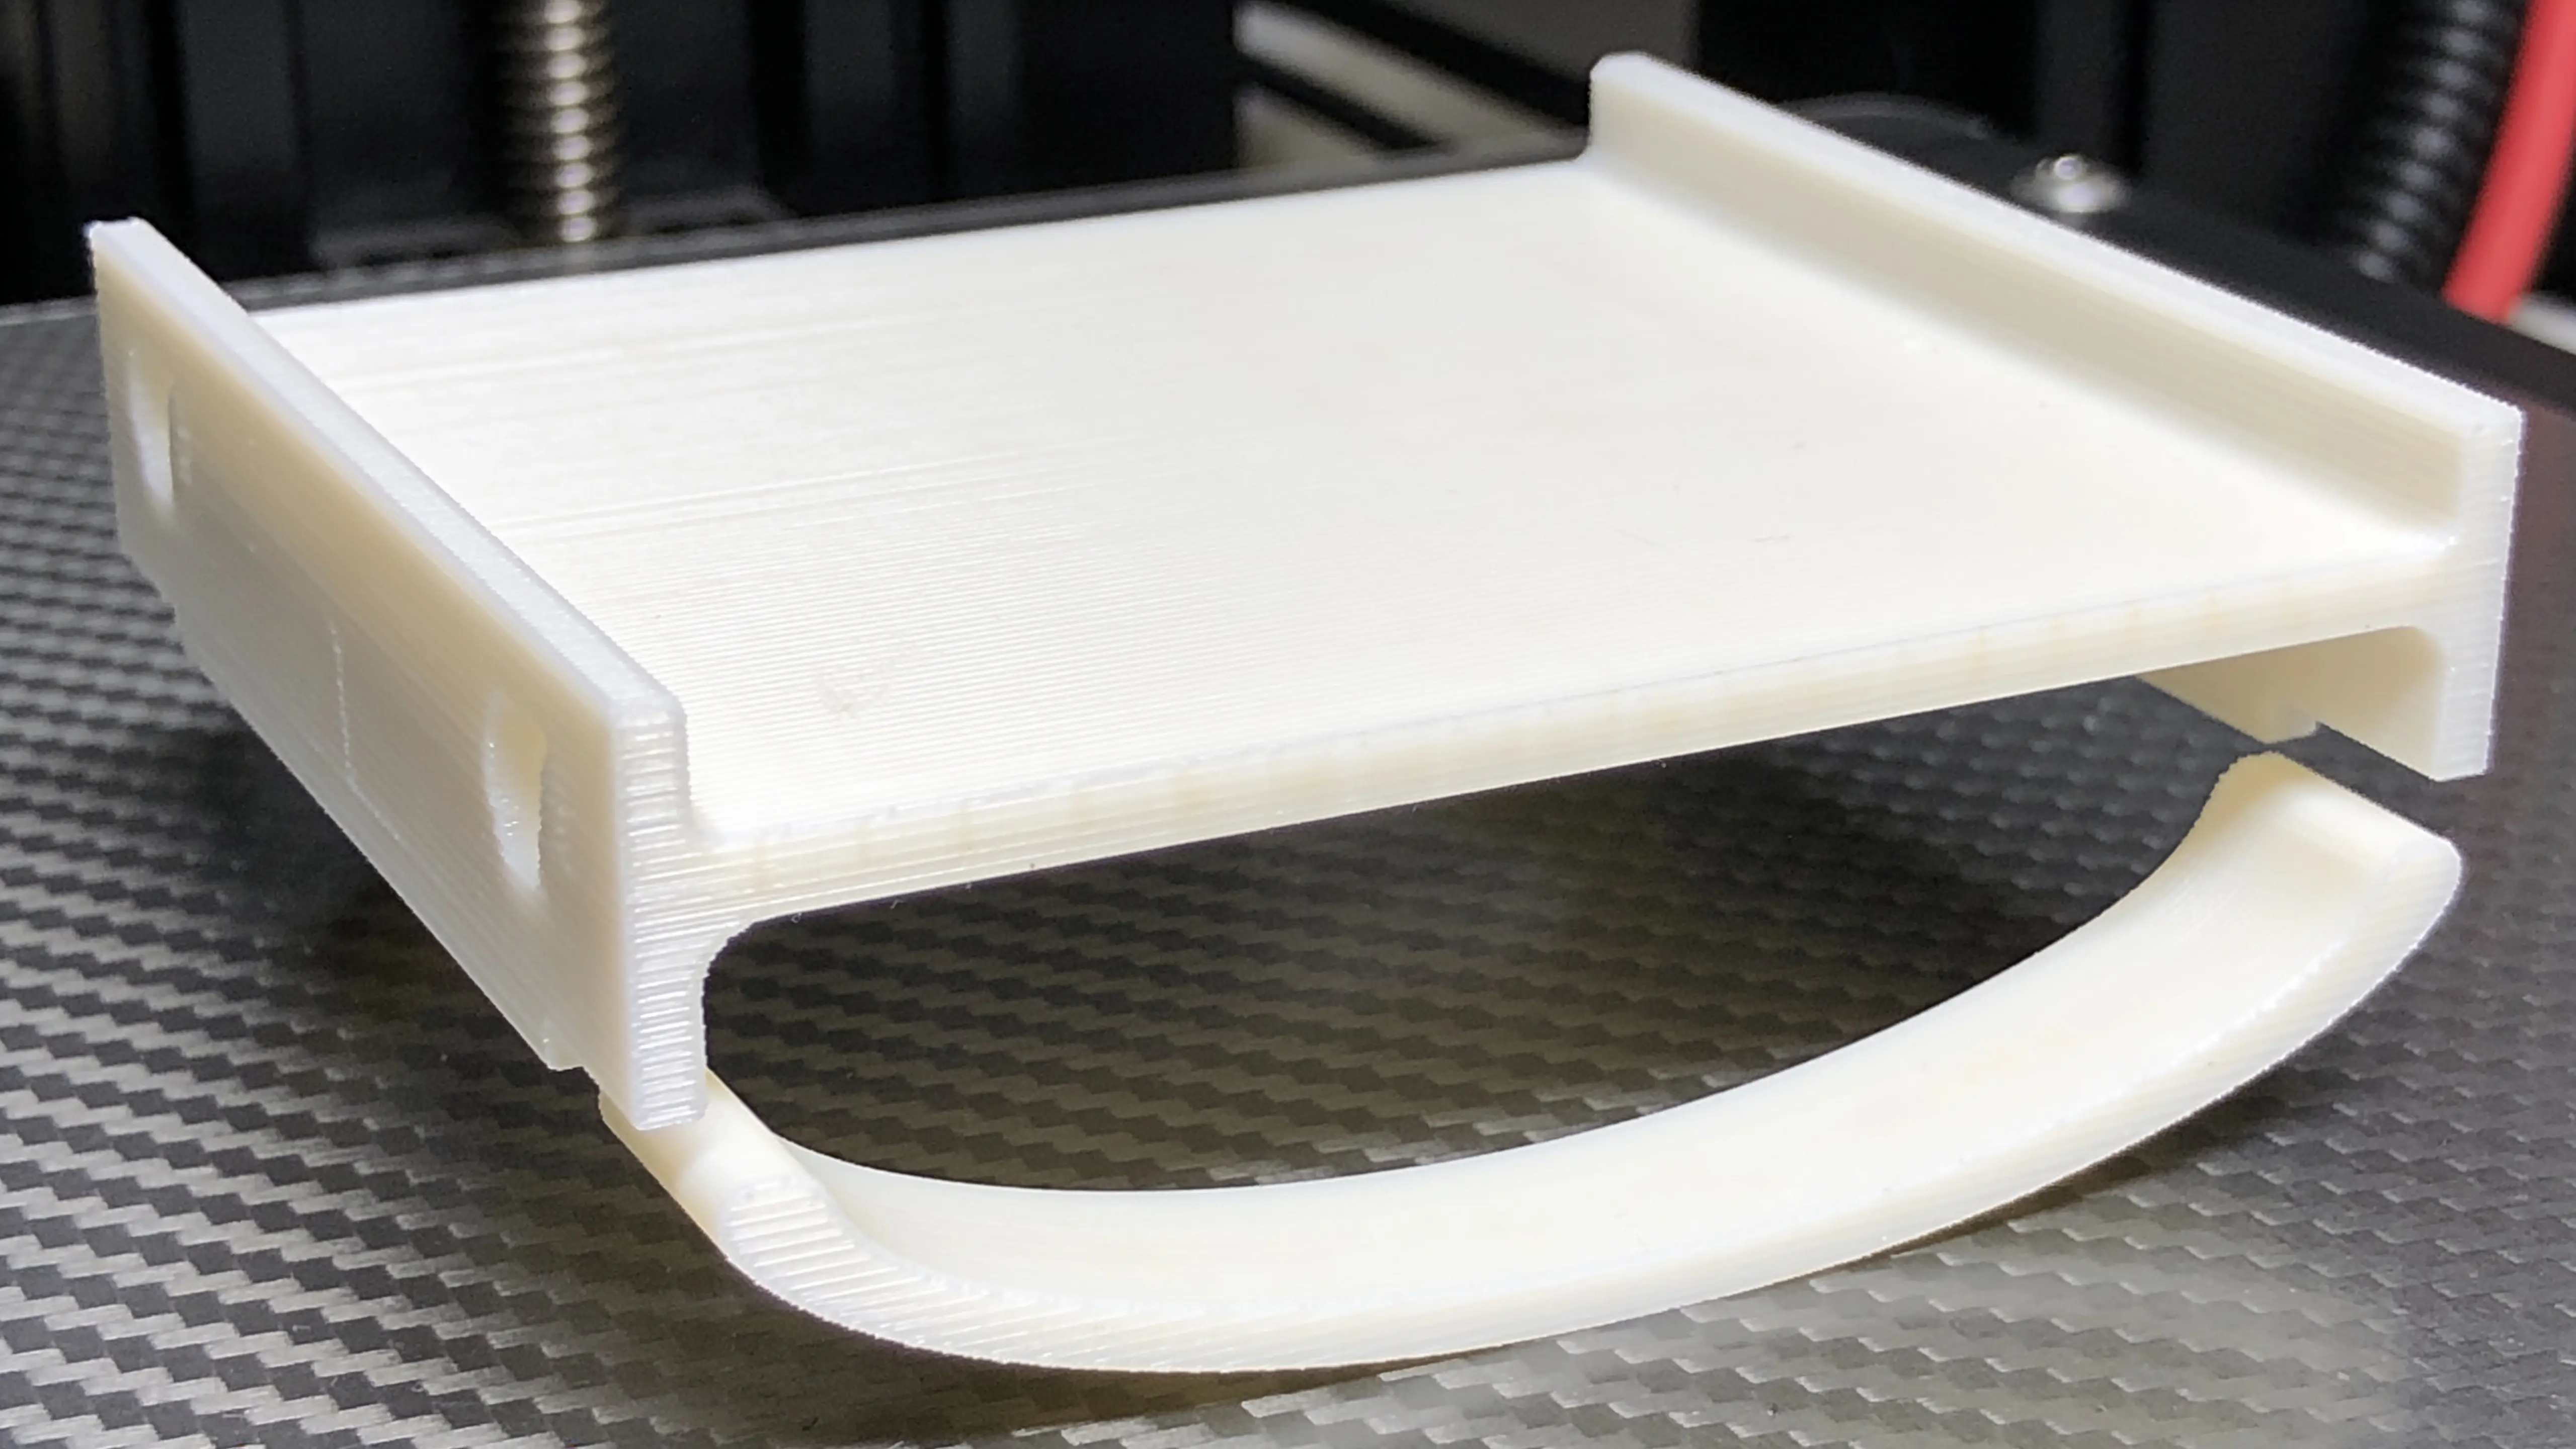
You start a 14-hour print on Friday night. Walk out Saturday morning. The corners have peeled up off the bed like a flower opening at dawn, and the bottom is so far from flat the part is scrap. The brim didn’t help. The bed leveling was perfect. The first layer looked beautiful.
Welcome to warping, the most expensive bug in 3D printing.
The quick answer
Warping is thermal shrinkage beating bed adhesion. Hot plastic shrinks as it cools (PLA 0.3%, PETG 0.4%, ABS 0.7%, Nylon 1.5%); when that contraction force exceeds the bed’s grip, corners lift. The fix depends on the material: for PLA, clean the PEI with IPA and run the bed at 60°C — that’s 80% of PLA cases. For PETG, use smooth PEI (never bare glass) at 80°C. For ABS, ASA, and Nylon, no bed trick saves you — you need an enclosed printer with a heated chamber (40–60°C). Brims and glue are workarounds, not fixes.
That’s the compressed version. The rest of this guide is the diagnostic — which pattern you have, which of the five root causes is yours, and the exact fix — so you stop guessing.
What warping looks like (and what each pattern means)
| Pattern | What you see | Most likely cause |
|---|---|---|
| Corner curl | One or more corners lifted 1–5mm, rest flat | Adhesion failure — dirty bed, low bed temp, bad Z offset |
| Edge waves | Long edge rippled like a wavy line | Bed too cold, or worn-out PEI |
| Banana bottom | Whole underside bowed up in the middle | Shrinkage beat the bed across the long axis — material/chamber problem |
Corner curl usually starts around layers 5–30 and worsens as more plastic cools above it. Banana bottoms are the signature of high-shrink materials (ABS, Nylon) or very long parts.
Why it happens — the 60-second physics
When plastic goes from a 200°C nozzle onto a 60°C bed, it contracts as it cools. Not much — but shrinkage compounds across length. A 100mm ABS part wants to be 99.3mm cold. The corners, farthest from the center and surrounded by the least material, cool fastest and pull first.
What resists them is bed adhesion. If adhesion wins, the print stays flat. If shrinkage wins, corners peel. Every fix in existence targets one side of that fight:
- Reduce the shrinkage force — chamber heat, warmer environment, lower-shrink material
- Increase the adhesion force — right bed surface, right bed temp, clean surface, brim
- Reduce corner stress geometrically — fillets, mouse ears, splitting the part
ABS warps catastrophically more than PLA for two stacked reasons: it shrinks 2.3× as much, and its higher glass-transition temperature (~105°C) keeps it soft longer while cooling — more contraction accumulates before the plastic sets. That combination is why ABS needs a chamber and PLA doesn’t.
The five root causes, ranked by how often they’re guilty
1. Dirty bed — the #1 cause of PLA warping (~60% of cases)
PEI grips through a chemical bond that requires a clean surface. One fingerprint drops adhesion 60–80% in that spot. Sweat from pulling off the last print, dust, hand lotion — all killers.
Diagnose: look at the bed under bright light at an angle. Clean PEI is uniformly glossy; contaminated PEI shows smudges and matte patches. Fix: 99% IPA + microfiber cloth (not paper towels — they shed fibers) before every print that matters. Thirty seconds.
2. Bed temperature too low (~20%)
Bed heat does two jobs: it helps the first layer flow and bond, and it keeps the print’s base warm so it contracts less. Most beginners run too cold.
| Material | First layer | After first layer |
|---|---|---|
| PLA | 60°C | 50–55°C |
| PETG | 80°C | 70°C |
| ABS / ASA | 110°C | 105°C |
| Nylon | 80°C | 75°C |
| TPU | 50°C | 45°C |
Cold room (under ~18°C)? Add 5°C to the first layer — the bed loses heat faster to cold air, and even PLA can warp in a 12°C garage.
3. High-shrinkage material on the wrong printer (~15% — and it’s a hardware problem)
For ABS, ASA, PC, and plain Nylon, adhesion tricks eventually lose to physics. The honest fix is an enclosed printer with a heated chamber — Voron 2.4, Bambu X1C/X1E, Prusa CORE One, Qidi X-Max 3, Elegoo Centauri Carbon and friends hold 40–60°C chambers that let the whole part cool slowly and evenly.
Open-frame printers (Ender 3, Bambu A1, MK4S) can bandaid small ABS parts — under ~80mm, bed at 110°C, t-shirt draped over the frame — but fail on anything large. If you sell ABS parts off an open-frame machine, your failure rate is eating your margin: set the failure buffer in the Pricing Calculator to 15–20% and look at your real cost, then decide if the enclosed printer pays for itself (it does).
Special case — Nylon sticks to almost nothing: use a Garolite (G10) bed surface, dry the filament aggressively first, and add glue stick on top for large parts. PA-CF is dramatically better behaved (the fibers restrain shrinkage).
4. Z offset / first-layer squish wrong (~10%)
If the nozzle starts too high, first-layer lines sit on the bed as round beads instead of pressed ribbons — less contact area, weak grip, corners lift first.
Diagnose: first-layer lines should look flattened with no gaps between neighbors. Round, ropey lines or visible gaps = too high. Fix: drop Z offset 0.02–0.05mm and retest with a quick one-layer square. Recheck after every nozzle or plate change — that’s when this one sneaks in.
5. Worn-out PEI (~10%)
PEI is a consumable: 500–1500 print hours and the surface dulls, scratches, and stops bonding, even when clean. If prints that stuck for months suddenly don’t, and IPA doesn’t fix it, hold the sheet at an angle to the light — matte patches on a once-glossy surface mean it’s done. Replacements run $25–60.
Fixes that add adhesion (when you actually need them)
Brim — extends the first layer outward so corners get more grip. Use 8–15mm for ABS, ~5mm for finicky PETG, and no brim for PLA — if PLA needs a brim, one of the five causes above is unfixed and will catch up with you. A brim on a 50g print costs 3–5g and 5–10 minutes; on production parts that’s a 6–10% cost bump you should engineer away instead of paying forever.
Raft — a sacrificial platform under the whole part. Maximum adhesion, ugly bottom surface, 30+ extra minutes. Last resort after surface + temp + brim + chamber have all been tried.
Glue stick / ABS slurry — situational chemistry: glue stick is release agent and adhesion booster depending on material (helps ABS on glass, pointless on clean PEI for PLA), slurry is the classic ABS-on-PEI insurance for big parts.
Free CAD-side tricks the settings menus can’t do
- Mouse ears — 5–10mm circular pads, 0.2mm tall, at each corner. They spread the corner’s shrinkage force over more bed contact and snap off cleanly after. Standard technique in the Voron community for big ABS parts.
- Fillet the corners — a 1–2mm fillet on outside corners cuts the localized cooling stress. Helps PETG especially, and looks better anyway.
- Split big parts — a 200mm part warps under conditions a 100mm part shrugs off, because shrinkage compounds with length. Two halves plus dowel pins and glue beats one banana.
- Orient long parts along Y and, when a part is long and thin, print it on its side if the design allows.
What to expect: warping rates by material
| Material | Open frame, untuned | Enclosed + tuned |
|---|---|---|
| PLA | 1–3% | <1% |
| PETG | 3–7% | 1–2% |
| ABS | 30–60% | 2–5% |
| ASA | 25–50% | 2–5% |
| Nylon | 20–40% | 3–8% |
| PA-CF | 5–10% | 1–2% |
Above these baselines, your setup is the problem, not the material. PLA warping is almost always the bed; ABS warping is almost always the chamber.
The fix order, by material
PLA: ① IPA-clean the bed → ② bed 60°C first layer → ③ check Z offset squish → ④ replace worn PEI → ⑤ warm the room / +5°C if cold → brim only if all else verified.
PETG: ① confirm smooth PEI, never bare glass (PETG welds to glass and rips chunks out) → ② bed 80°C → ③ clean with IPA → ④ 5mm brim if still lifting → ⑤ try 98% flow.
ABS/ASA: ① enclosure — non-negotiable over 80mm → ② chamber 40–60°C, bed 110°C → ③ 8–15mm brim → ④ mouse ears on corners → ⑤ slurry if PEI alone won’t hold.
Nylon: ① Garolite surface → ② dry the filament hard (it’s the most hygroscopic filament there is) → ③ chamber 50–70°C → ④ glue stick on the Garolite for insurance.
Common questions
Will glue stick fix PLA warping? It masks it. Clean PEI at 60°C out-grips glue for PLA, without the residue cleanup between prints. Save glue for ABS-on-glass setups.
Should I use a heated chamber for PLA? No — PLA wants to cool. In a hot chamber PLA prints get soft-edged and stringy. Chambers are for ABS, ASA, PC, Nylon.
Why does my bed heat not prevent warping higher up the print? The bed only warms the bottom ~10mm. Twenty millimeters up, the plastic is cooling at room temperature and pulling on the glued-down base. That’s exactly the gap chamber heat fills for high-shrink materials.
My print warps only at the very first layer — same thing? Different problem, different guide: that’s adhesion/leveling territory, covered in the first layer diagnostic.
Is warping ever “normal”? A tuned, enclosed ABS print can still end up ~0.1mm off dead flat — that’s physics, within tolerance for almost anything. Visible curl (>1mm), mid-print detachment, or banana bottoms are the ones that need this guide.
Once you have the mental model — shrinkage vs. adhesion, and which intervention moves which side — warping stops being a mystery ritual of brims and prayers and becomes a 10-minute diagnosis. For choosing materials that sidestep the fight entirely, see PLA vs PETG: When to Use Which; for what warping-driven failures do to your margins if you sell prints, How to Price Your 3D Prints has the failure-buffer math.